Gutter Installation Mistakes to Avoid
The most common gutter installation mistakes — bad slope, too few downspouts, wide hanger spacing, missing drip edge, foundation discharge — and how to spot them.
Gutters

Installing gutters means planning the slope toward each downspout, marking a chalk line, mounting hangers into solid fascia or rafter tails, hanging the gutter, then sealing corners and outlets. The work is achievable for a capable DIYer on a single-story run with safe access, but slope, fastening and safe ladder work decide whether it lasts.
Installing gutters comes down to a clear sequence: plan the slope so every run drains toward a downspout, snap a chalk line to guide that fall, mount hangers into solid fascia or rafter tails, hang the gutter along the line, add end caps and outlets, then seal the corners and connect the downspouts. On a single-story home with safe ladder access, this is within reach of a capable DIYer using sectional gutters. What separates a lasting installation from a leaky, sagging one is not speed — it is getting the slope, the fastening and the safety right. Seamless gutters, tall walls and steep roofs are best left to professionals.
Good gutter work is decided before the first fastener goes in. Walk the roofline and plan where water needs to go.
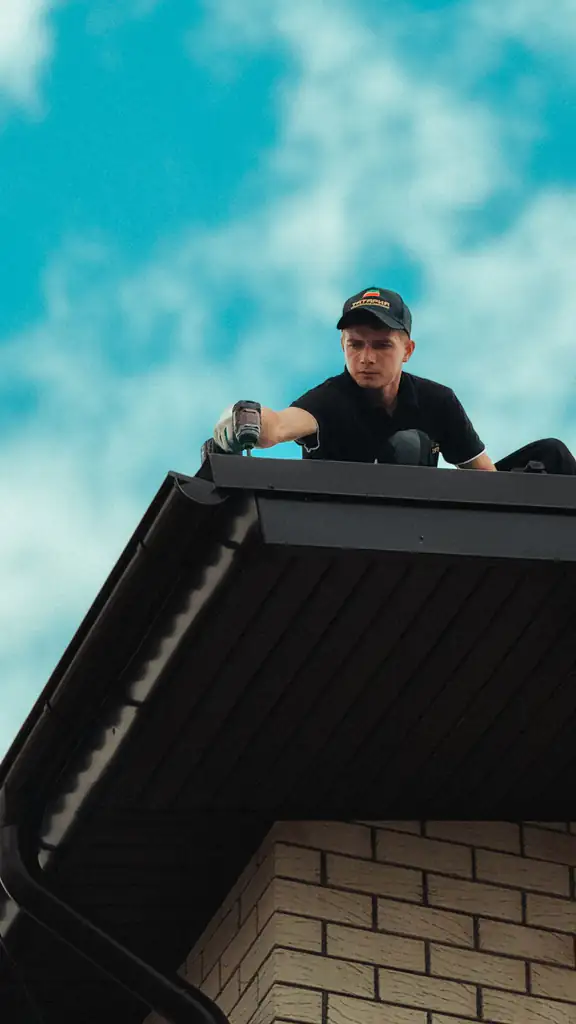
Safety first: most gutter installation happens at the top of a ladder over a hard surface. Use a stable ladder on firm ground, keep three points of contact, never overreach, and stop when access is doubtful. No gutter run is worth a fall.
Gutters must fall gently toward each downspout so water always keeps moving. Mark the high point of the run near the top of the fascia, then measure down to the downspout end to set a consistent drop across the whole length. Snap a chalk line between the two points. This line is your reference for every hanger, so take your time getting it straight and consistent — an even, gentle fall matters far more than hitting any exact figure. For why this matters, see gutter pitch and slope explained.
With the chalk line set, install the hangers along it. The fasteners should reach into solid wood — ideally the rafter tails behind the fascia — so the run can carry the weight of water, and in cold regions, ice and snow.
Space the hangers closely enough that the gutter cannot sag or flex between them. Tighten that spacing in snowy climates and with lighter materials like vinyl, which bow more easily. When you are unsure, err toward more hangers rather than fewer — sagging is one of the most common gutter failures and it almost always traces back to weak or sparse support. Our guide on gutter hangers and brackets explained covers the hanger types.
Before hanging the gutter, cut the outlet holes where each downspout will connect and fit the end caps on the run’s terminating ends. Doing this on the ground, at a comfortable height, is far easier and safer than fighting with a hole saw at the top of a ladder. Seal the end caps as you go.
Lift each length into the hangers along the chalk line and secure it. Join sectional pieces with their connectors, sealing each joint. Keep checking that the run follows the sloped line rather than drifting level — it is easy for a long run to creep out of pitch as you work down it.
Corners and downspout outlets are the joints that leak, so they get extra attention. Assemble inside and outside corner miters and seal them thoroughly; do the same at each outlet. Even seamless gutters rely on hand-sealed corners and outlets, so this step matters regardless of the system.
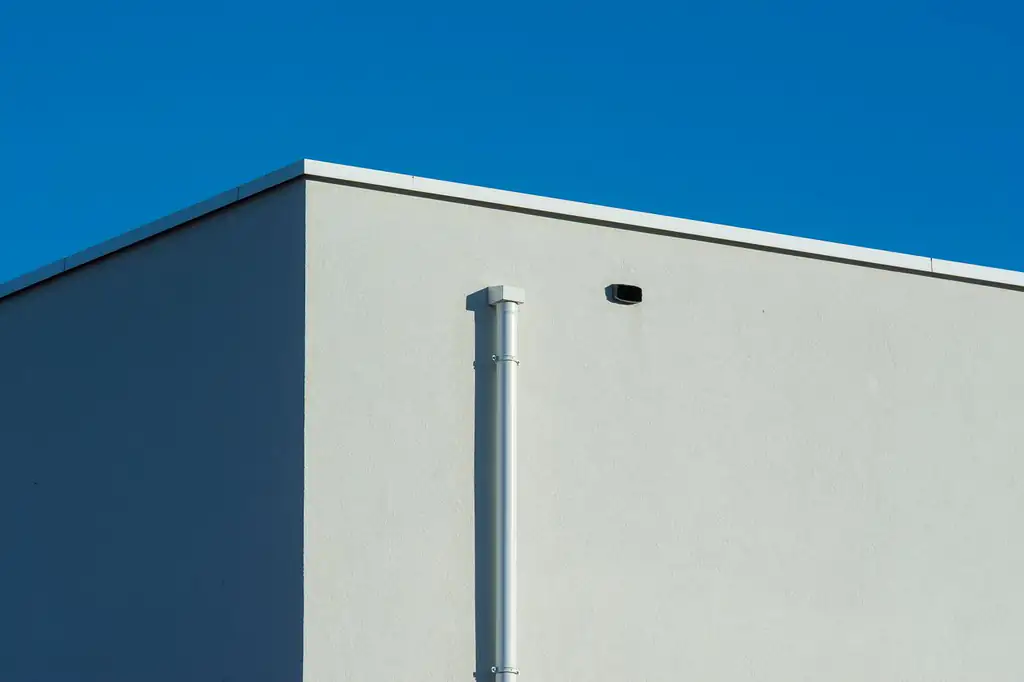
Attach the downspout to each outlet using elbows to bring it against the wall, then run it down and secure it with straps. At the bottom, add an elbow and an extension or splash block so water is carried well away from the foundation — dropping it right at the base of the wall simply relocates the problem you installed gutters to solve.
Even a straightforward install goes wrong in predictable ways. The most frequent problems are:
| Mistake | Why it fails |
|---|---|
| Level or backward slope | Water stands, overflows and strains the run |
| Fastening into rotted fascia | Hangers pull loose and the gutter sags |
| Hangers spaced too far apart | The run bows and sags under load |
| Skipping fascia inspection | Hidden rot undermines the whole job |
| Downspout dumping at the foundation | Relocates water damage instead of preventing it |
| Under-sealing corners and outlets | Leaks start at the joints within a season |
For a fuller list, our gutter installation mistakes to avoid guide goes deeper.
DIY installation makes sense on an accessible single-story home with sectional gutters and sound fascia. Hand the job to a professional when you are dealing with seamless gutters, second-story or steep-roof runs, fascia that needs structural repair, or any situation where safe ladder access is in doubt. The labor you save is never worth a fall or a run that fails in the first storm. Whichever route you take, the fundamentals from how gutters work — right size, steady slope and solid support — are what keep the finished system moving water for years.
FAQ
On a single-story home with safe ladder access, a careful DIYer can install sectional gutters. The main challenges are working at height, getting the slope right and fastening into solid wood. Tall walls, steep roofs and seamless gutters are jobs for a pro.
A gentle, consistent fall toward each downspout is the goal — enough that water always moves and never stands. The exact figure is often given as a fraction of an inch per several feet, but consistency matters more than any precise number.
Gutters mount to the fascia board, and ideally the fasteners reach the rafter tails behind it. Hangers must bite into solid wood — attaching to rotted fascia is the fastest way to end up with a sagging run.
At the low end of each run, positioned to carry water well away from the foundation. Long runs may need a downspout at each end. The discharge point matters as much as the gutter itself.
Yes. Take down the old system, then inspect the fascia and rafter tails for rot before mounting anything new. Installing over damaged wood undermines the whole job and hides problems you should fix first.
Closely enough that the gutter cannot sag or flex under water and debris load; spacing tightens in regions with snow and ice. When in doubt, more hangers is the safer error, especially with lighter materials like vinyl.
For seamless gutters, second-story or steep-roof runs, rotted fascia that needs repair, or any situation where safe ladder access is doubtful. The cost of a fall or a failed run far outweighs the labor savings.
Keep reading
The most common gutter installation mistakes — bad slope, too few downspouts, wide hanger spacing, missing drip edge, foundation discharge — and how to spot them.
Why gutters need a slight slope, the quarter-inch-per-10-feet rule of thumb, how to check pitch, and how lost slope gets corrected.
A step-by-step way to measure for gutters — roof-edge lengths, corners, downspout planning, and pitch and fascia notes.