How to Clean Underground Downspout Drains
How to clean an underground downspout drain: flush from the inlet, clear the outlet, run a drain snake, and recognize when a buried line needs repair instead.
Seasonal Maintenance

Resealing a leaking joint is mostly preparation: clean and fully dry the seam, strip the old failed sealant, then apply gutter-grade sealant from inside the trough and let it cure before water hits it. Skipping the drying and the old-sealant removal is why most reseal jobs fail again within a season.
Resealing a leaking gutter joint is far more about preparation than about the sealant itself. Clean the seam, strip out the old failed material, dry it completely, then lay a bead of gutter-grade sealant from inside the trough and let it cure before any water touches it. Get the prep right and the repair holds for years. Skip the drying or leave the old cracked sealant in place, and you will be back on the ladder within a season.
Here is the full method, plus how to tell when a reseal is worth doing at all.
Sectional gutters are assembled from lengths joined at seams and at corners, and every joint is sealed. That sealant is the weak point. It ages, hardens, cracks, and pulls away from the metal as the gutter expands in heat, contracts in cold, and shifts with freeze-thaw. Once a hairline gap opens, water sitting in the trough works its way through it. That is why leaks concentrate at seams and corners — the flat runs rarely fail on their own. Our overview of gutters leaking at the seams covers the diagnosis side in more detail.
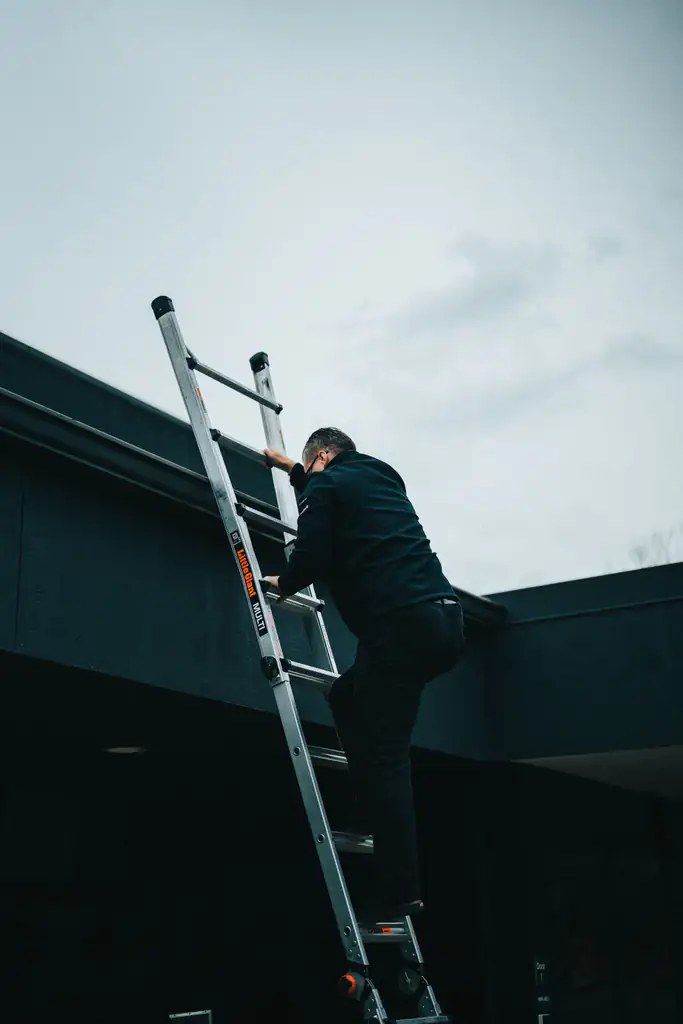
Working at height is dangerous. Resealing is close, two-handed work at the roofline. Set the ladder on firm, level ground, keep your hips between the rails, and move it rather than reaching along the seam. If you cannot work safely at height, hire a professional.
Clear debris from the section and rinse it, then let the seam dry completely. This is not optional — sealant does not bond to a wet or dirty surface. If you have any doubt, give it extra time or a wipe with a dry rag. Damp metal is the most common reason a reseal fails early.
Scrape away the cracked, lifting, or discolored old sealant with a putty knife, working the seam back to bare, sound metal. New sealant laid over old failed sealant bonds to the failing layer, not to the gutter, so it peels with it. Take the time to get the seam clean.
Brush out the grit and wipe the metal with a cleaner or solvent suited to your sealant, following the product’s guidance. Let it dry again. You want a clean, dry, sound surface with no oily film.
Lay a continuous bead of gutter-grade sealant along the seam from inside the gutter — the water side. This is where water pools and where it is driven into the joint, so this is where the seal has to be. Tool the bead so it fully covers the seam and feathers slightly onto the metal on both sides. An exterior-only bead is a common shortcut that leaves the joint leaking from within.
Give the sealant its full cure time before water reaches it. Cure times vary by product and weather, so check the label and pick a window with no rain forecast through the whole period. Water on uncured sealant is a classic reseal failure.
| Sealant type | Fit for gutters? | Notes |
|---|---|---|
| Gutter-grade / roof-and-gutter sealant | Yes | Stays flexible, rated for wet outdoor use |
| General silicone or acrylic caulk | Usually no | Often too rigid; tends to crack and lift |
| Tapes and patches | Situational | Can bridge a small hole short-term, not a lasting seam seal |
Always match the sealant to your gutter material and follow the manufacturer’s directions — the metal and the sealant chemistry need to be compatible for the bond to hold.
Every roofline is different. Gutter material, height, and how far the joints have degraded all change what a reseal can accomplish. Treat this as a general method, not a substitute for judging the condition of your own gutters.
Resealing buys time on a sound gutter with an aging seam. It does not fix a failing system. If any of the following is true, resealing is a short-term patch at best:
At that stage, repairing the section — or moving toward a jointless design — is the better long-term call. Because seamless gutters have far fewer joints to fail, they sidestep most seam leaks entirely; our comparison of seamless versus sectional gutters lays out the trade-offs. Corners deserve special attention too, since they concentrate both water and movement; see gutter corners, outlets, and end caps for why those points fail first.
A lasting reseal comes down to discipline in the prep: clean, strip the old sealant, dry the metal, seal from inside, and let it cure untouched by rain. The sealant is the easy part. Respect the height while you work the seam, choose a dry mild day, and if the joints keep failing no matter how carefully you reseal, treat that as the gutter telling you it needs more than a patch.
FAQ
Sectional gutters are joined at seams and corners, and the sealant at those joints ages, cracks, and pulls away over time. Movement from expansion, freeze-thaw, and settling loosens the bond, and once a gap opens, water finds it.
A sealant made for gutters — usually a gutter-grade or roof-and-gutter sealant that stays flexible and is rated for wet, outdoor conditions. Ordinary household caulk tends to be too rigid and fails quickly. Match the sealant to your gutter material.
Yes. New sealant will not bond well over cracked, dirty, or lifting old sealant. Scrape and clean the seam back to bare, sound metal, then let it dry fully. This preparation is the main reason a reseal lasts or fails.
Inside the trough, on the water side of the seam. Sealing from inside puts the material where the water sits and where it is pushed into the joint. An exterior-only bead often peels and leaves the seam leaking from within.
Follow the product's cure time, which varies by sealant and weather. Pick a dry, mild window with no rain forecast for at least the cure period. Water hitting uncured sealant is a common cause of a failed reseal.
If the joints leak repeatedly, the metal is corroded, or the gutter sags and holds water, resealing only buys short-term time. At that point, repair of the section or a move toward seamless gutters is usually the better long-term answer.
Most gutter sealants have a minimum application temperature and cure poorly in the cold or damp. Wait for a dry, mild day within the product's rated range. Rushing a reseal in cold, wet conditions almost guarantees it fails again.
Keep reading
How to clean an underground downspout drain: flush from the inlet, clear the outlet, run a drain snake, and recognize when a buried line needs repair instead.
How to flush gutters with a garden hose the right way: scoop first, rinse toward the downspout, and confirm each outlet drains at full flow.
A plain, step-by-step method for cleaning your gutters safely: set up, scoop, flush, and confirm each downspout runs clear.