Vapor Barrier vs Encapsulation
How a crawl-space vapor barrier differs from full encapsulation, what each one actually does, and how to tell which your space needs.
Basement & Crawl Space
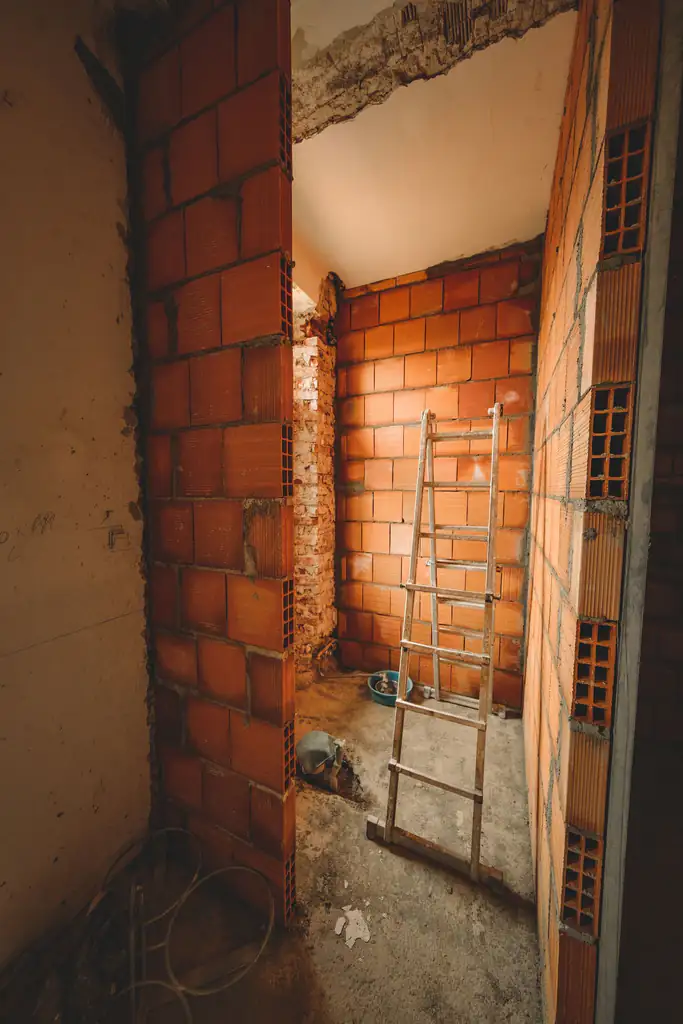
Encapsulation seals a crawl space with a heavy liner across the floor and up the walls, then manages the remaining humidity — usually with a dehumidifier. The order matters: control exterior water and any standing moisture first, seal second, and add humidity control last. Sealing over an active water problem traps it.
Crawl-space encapsulation is the process of sealing a crawl space so that ground and outside moisture can no longer move into it freely. Done properly, it turns a damp, vented dirt space into a closed, controlled one. But the single most useful thing to understand before starting is the order of operations: you control the water sources first, seal the space second, and manage the leftover humidity last. Skipping straight to the liner — the part that looks like the whole job — is the most common way encapsulation goes wrong, because a sealed space over an active water problem simply traps the problem out of sight.
This guide walks through the steps in the order they actually matter.
Encapsulation is a vapor and humidity strategy. It is not a defense against liquid water arriving under pressure. If groundwater is pushing up through the soil, or runoff is finding its way in after storms, no liner will hold it back — it will pool underneath and stay there.
So the first step happens outside and around the crawl space, not inside it. That means checking that gutters and downspouts carry roof water well away from the walls, that the ground slopes away from the house rather than toward it, and that there is no standing water in the crawl space after rain. Our overview of foundation grading basics covers the exterior side of this, and if water is genuinely entering the space you may need drainage first — interior drainage systems explain how water that still gets in is collected and pumped out.
Encapsulation seals a space against vapor and humid air. It does not resist standing or pressurized water. If water is entering, that is a drainage problem to solve before the liner goes down, not after.
Only once the space stays dry through normal weather does it make sense to move on.
With water sources handled, the space has to be cleaned out. That means removing debris, old torn plastic, and any organic material sitting on the soil. If there is existing mold on framing or joists, that gets addressed before the space is closed — sealing over active growth is the same mistake as sealing over water. Keep any cleanup small and safety-first, and route larger or health-related mold to a specialist rather than disturbing it yourself.
Preparation also means looking up, not just down. Exposed framing, the sill area, and any insulation are all part of the space you are about to close, and problems there are far easier to see now than after the liner is in.
This is the step people picture when they hear “encapsulation,” and it is the visible heart of the job. A heavy, reinforced liner is laid across the entire floor of the crawl space and run up the foundation walls, where it is fastened and sealed near the top. Unlike the thin sheeting used for a simple ground cover, an encapsulation liner is built to be walked and crawled on for years, so it is thicker and tougher.
The details are where quality shows:
Because sealing the vents is standard practice in encapsulation, the space no longer breathes the way a vented crawl space does. That is intentional — but it creates the need for the final step.
A sealed crawl space still holds some moisture: residual dampness in the soil beneath the liner, humidity in the air that was trapped at closing, and whatever seeps in over time. With the vents sealed, that moisture has nowhere to escape on its own. This is why a dedicated dehumidifier is a common part of a finished encapsulation, holding humidity at a steady, controlled level year-round.
Humidity control is not an afterthought bolted on later; it is the reason the sealed space stays healthy instead of turning into a closed box of trapped damp air. If you want the broader picture of how humidity behaves in these spaces, our guide on basement humidity and dehumidifiers covers the same principles.
| Step | What it addresses | Why it comes when it does |
|---|---|---|
| Fix water sources | Liquid water and runoff | A liner cannot hold back water; trapped water rots the space |
| Clean and prep | Debris, organic matter, mold | Sealing over growth hides it rather than solving it |
| Lay and seal liner | Soil vapor and outside air | The physical barrier only works once seams and vents are detailed |
| Control humidity | Residual and ongoing moisture | A sealed space no longer breathes, so humidity must be managed |
Read top to bottom, the table is really one idea: each step only works if the one above it is already done. That is why encapsulation is a sequence, not a single product you install.
The liner itself is within reach of a capable homeowner, but the parts that decide whether encapsulation lasts — diagnosing the water source, detailing wall and pier seams, and sizing humidity control — are where professional judgment pays off. Certain findings should stop a DIY effort outright: active water entry, structural cracks, sagging or rotted framing, and large or health-related mold. Encapsulation is a strong, durable improvement when it is built in the right order on a dry foundation. It is an expensive way to hide a problem when it is not.
FAQ
Not the liner. The first step is finding and fixing where water and moisture come from — grading, downspouts, and any standing water. Sealing before that traps the problem underneath the new liner.
Often yes. A sealed crawl space no longer breathes, so residual humidity from the soil and air has nowhere to go. A dedicated dehumidifier is the common way to hold humidity at a steady level once the space is closed.
Encapsulation typically uses a heavy, reinforced liner rather than the thin sheeting used for a basic vapor barrier. The exact thickness varies by product, but the point is durability: it has to survive being walked and crawled on for years.
Usually the vents are sealed as part of closing the space, because open vents let in outside humid air that defeats the purpose. This is one reason encapsulation is a bigger commitment than laying a simple ground cover.
The physical work of laying and taping a liner is doable for some homeowners, but diagnosing the water source, detailing the wall seams, and sizing humidity control are where most projects succeed or fail. Many people handle diagnosis with a professional even if they lay the liner themselves.
No. Encapsulation manages vapor and humidity; it does not resist liquid water under pressure. If groundwater or runoff is actively entering, that has to be handled with drainage before the space is sealed.
A vapor barrier is one layer — sheeting on the ground to slow soil moisture. Encapsulation is the whole system: heavy liner up the walls, sealed seams and vents, and usually a dehumidifier. Encapsulation includes a vapor barrier but adds much more.
Keep reading
How a crawl-space vapor barrier differs from full encapsulation, what each one actually does, and how to tell which your space needs.
What crawl-space encapsulation involves, how it differs from a vented crawl space, and why exterior water has to be fixed before you seal anything.
Crawl-space moisture comes from the soil, outside air, and drainage water. The basics — vapor barrier, exterior drainage, humidity — plus vented vs encapsulated.