Cleaning Vinyl Siding Safely
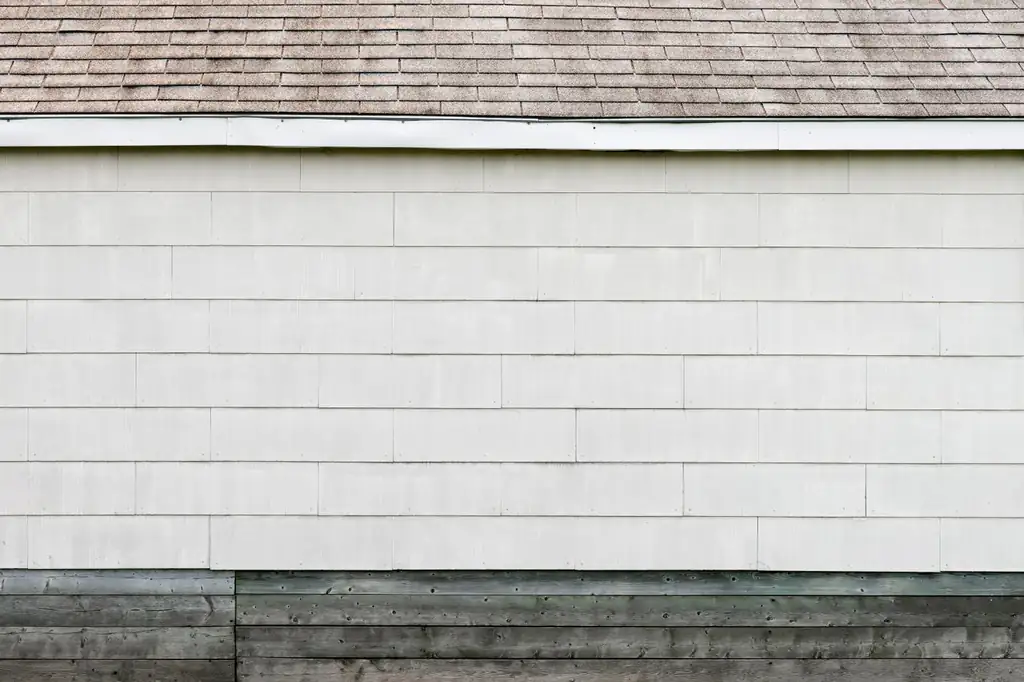
Clean vinyl siding safely with low pressure, a mild cleaner and a soft brush — and avoid the high-pressure spray that drives water behind the panels.
Exterior Cleaning
Clean vinyl siding from the ground with a soft-bristle brush, a bucket of mild cleaning solution, and a low-pressure rinse — working bottom to top to avoid streaks, then rinsing top to bottom. Keep pressure low so you never force water up behind the panels into the wall, and treat green or black growth as mildew that needs a killing solution, not just scrubbing.
Clean vinyl siding with a soft-bristle brush, a bucket of mild cleaning solution, and a low-pressure rinse — no heavy machinery required for most homes. Work in sections from the bottom up to avoid streaks, keep the water pressure low so you never force it behind the panels, and treat any green or black growth as mildew that needs a killing solution rather than plain scrubbing. Done this way, the job is safe, effective, and gentle on both the siding and the wall behind it.
The biggest risk in cleaning siding is not dirt — it is water intrusion. Vinyl panels overlap in horizontal laps, and those laps face downward so rain sheds off them. Spray water upward with force and you drive it up under the laps and behind the siding, where it reaches the sheathing and wall cavity. There it can sit unseen and cause rot and mold long after the surface looks clean.
That is why the standard advice is to keep pressure low and, ideally, to soft-wash rather than pressure-wash. If you understand soft washing, you already have the core idea: let a cleaning solution do the work at low pressure instead of relying on force. High pressure also cracks and dents older or sun-brittle panels. When the whole method is chemistry plus a gentle rinse, the wall stays dry and the finish stays intact.
This is the part that feels backwards but matters most for a clean result.
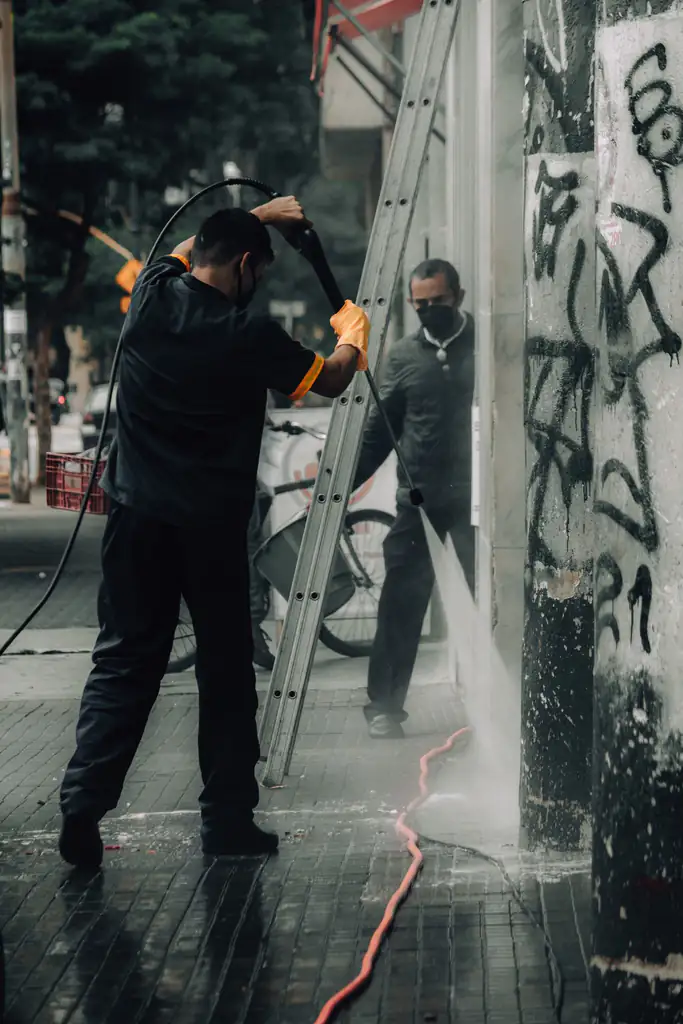
Mind ladders, water, and electricity. Reach upper courses with an extension pole from the ground where you can, rather than working from a tall ladder. Keep water away from outlets, light fixtures, and electrical panels, and never spray upward into soffit vents. Leave high, awkward elevations to a professional.
If your siding has green film or black speckling — especially on a shaded, damp, north-facing wall — that is mildew or algae, not plain dirt. Scrubbing removes what you can see but leaves the organism to return. You need a solution that kills it, applied and given dwell time before rinsing. The general approach in removing mildew from exterior surfaces applies directly to vinyl: kill the growth at the source, then rinse, rather than fighting it with abrasion.
Test any stronger solution on a small, hidden section first, and follow the product label on dilution, dwell time, and runoff.
Pay particular attention to the shaded, north-facing walls and any elevation shadowed by trees or a neighboring structure. These stay damp the longest after rain and are almost always where mildew reappears first. A quick spot-treatment on those walls a couple of times a year is easier than a full re-clean once the growth has spread across the whole elevation.
Deeply textured or wood-grain-embossed vinyl holds dirt in its grooves, so a soft brush and a little more dwell time beat trying to muscle it out. Older, chalky siding is a special case: sun-faded vinyl develops a powdery surface that comes off on your hand, and aggressive scrubbing can make the chalking worse. Clean it gently, rinse well, and accept that heavily oxidized panels may never look fully new — that is the finish aging, not dirt you failed to remove.
Cleaning solutions that run off the wall can scorch foundation plants and lawn. Wet the vegetation with plain water before you begin, rinse it again afterward, and follow the product label and any local guidance on chemical runoff.
Vinyl stays cleaner when the wall dries out between rains. Trim back shrubs and branches that trap moisture against shaded elevations, keep gutters clear so overflow does not sheet down the siding, and fold this cleaning into a once-a-year routine — more often for damp, treed walls that grow mildew, less often for sunny, dry sides of the house.
Cleaned gently and on a sensible schedule, vinyl siding is one of the easiest exterior surfaces to keep looking new. The whole job comes down to low pressure, the bottom-to-top method, and treating living growth as something to kill rather than merely scrub.
FAQ
A mild solution usually works — warm water with a gentle general-purpose cleaner, applied with a soft brush. For mildew and green or black growth you need a solution that kills the organism, often one containing diluted sodium hypochlorite. Always test on a small, hidden section first and follow the product label.
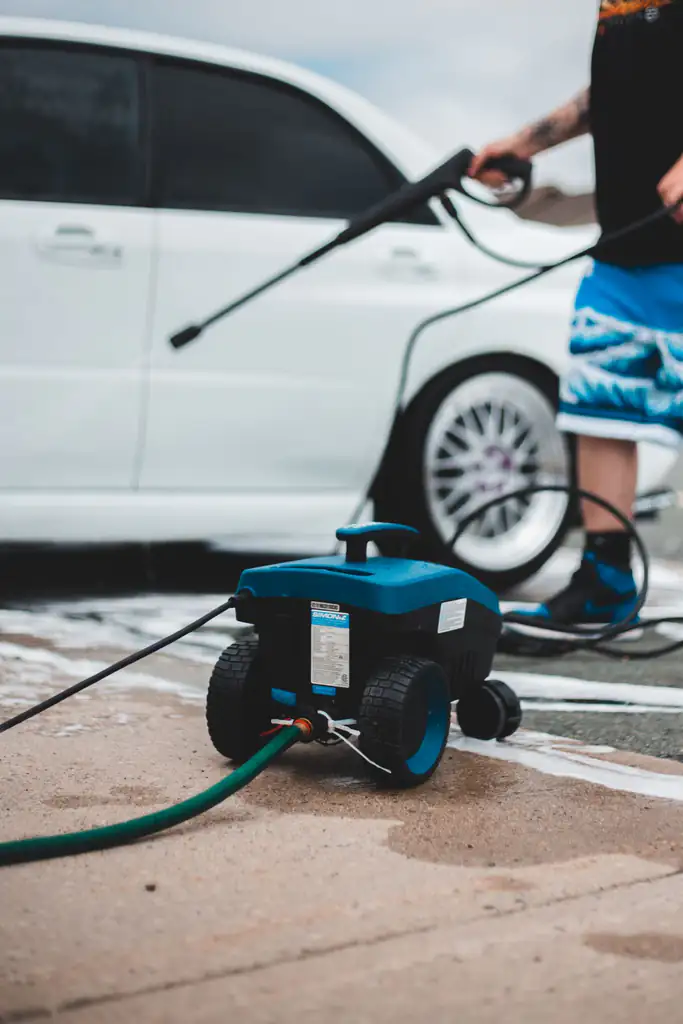
Keep pressure low. High pressure can crack or dent panels and, more importantly, drive water up behind the siding into the wall cavity where it causes hidden rot and mold. If you use a pressure washer at all, use a wide, gentle tip, keep your distance, and never aim upward under the panel laps.
Washing bottom to top and rinsing top to bottom prevents streaking. When cleaning solution runs down over dry, dirty siding it leaves hard-to-remove streaks; keeping the area below already wet stops that. It feels backwards but it is the standard method for a streak-free finish.
Green film and black speckling are usually mildew or algae, not plain dirt, so scrubbing alone will not keep them from returning. Apply a cleaning solution that kills the organism, give it dwell time per the label, then rinse. It grows back fastest on shaded, damp north-facing walls.
Avoid abrasive pads and harsh scrubbing on the finish — they can dull or scuff the surface permanently, and shiny scrubbed patches show up worse than the original stain. A soft-bristle brush is the right tool. Stubborn spots need a longer soak, not more abrasion.
Yes. Cleaning solutions can scorch foundation plants and lawn, so wet them before you start and rinse afterward. Close windows fully, and be cautious around electrical fixtures, outlets, and light fittings — keep water away from them and never spray upward into a soffit vent.
Once a year is a reasonable baseline for most homes, ideally as part of a seasonal exterior routine. Shaded, damp, or heavily treed walls that grow mildew may need attention more often, while sunny, dry elevations can go longer between cleanings.
Keep reading
Clean vinyl siding safely with low pressure, a mild cleaner and a soft brush — and avoid the high-pressure spray that drives water behind the panels.
Soft washing uses a cleaning solution and low pressure to kill algae and mildew instead of blasting them. Learn how it works and where it fits.
Clean a wood deck without wrecking the boards — why to skip high pressure, the brush-and-cleaner method, drying time, and how to time resealing.