Attic Insulation and Ice Dams
Attic insulation helps stop ice dams by keeping the roof deck cold — but only after air-sealing. The right order of air-seal, insulate, ventilate, explained.
Ice Dams & Winter Water
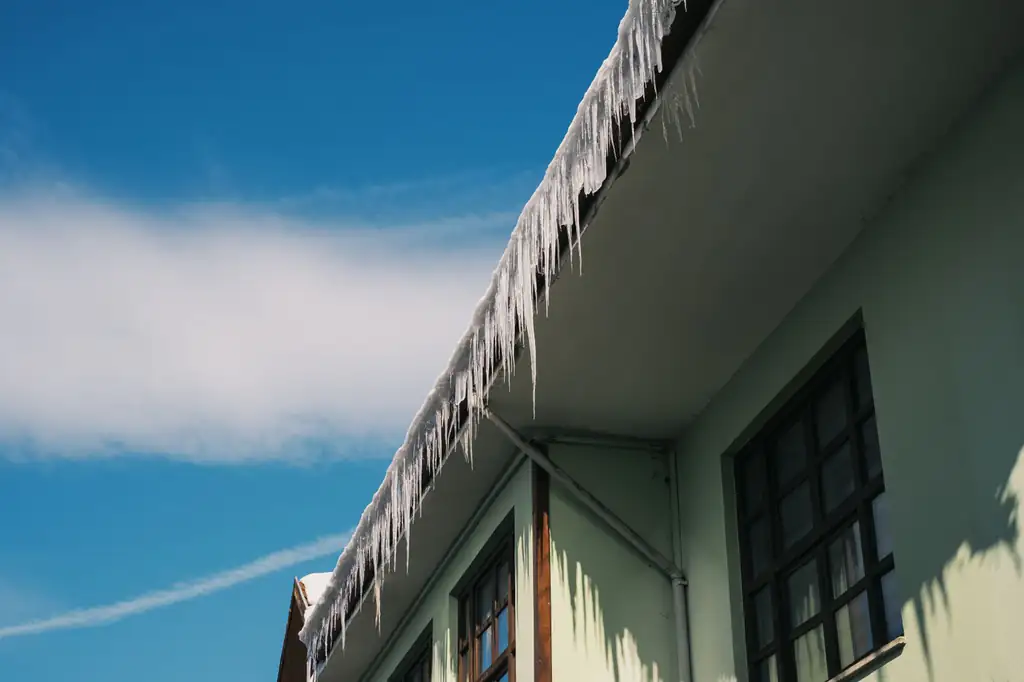
Ice dams start with a warm roof, so the real cure is in the attic — air-sealing leaks from the living space, adequate insulation on the attic floor, and balanced soffit-to-ridge ventilation that keeps the deck cold. Together these cut the melting that feeds a dam.
Ice dams begin with a warm roof, so the lasting cure is in the attic, not on the roof edge. Three things keep the roof deck cold: air-sealing the leaks where warm indoor air escapes into the attic, laying adequate insulation across the attic floor, and running balanced soffit-to-ridge ventilation that flushes cold air under the deck. Done together, they cut the melting that feeds a dam. Done in isolation, any one of them tends to underdeliver. This is the least glamorous ice-dam work you can do — and the most effective.
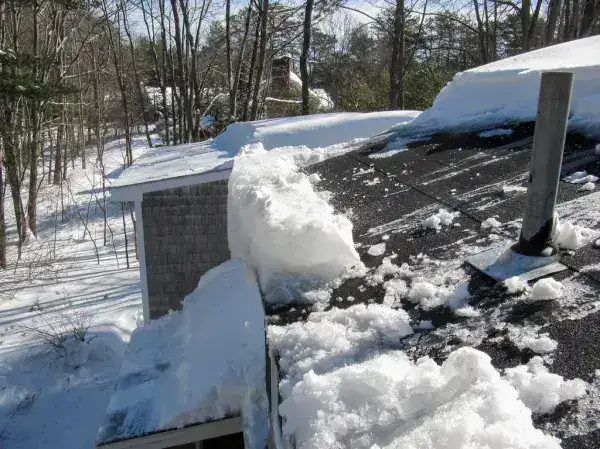
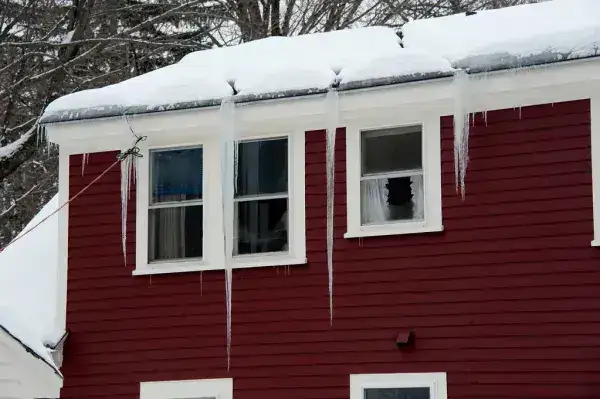
A roof in winter has two zones. The upper roof sits over the heated attic; the eave hangs out past the exterior wall over open air and stays cold. When heat from the living space reaches the underside of the upper roof, the deck climbs above freezing and the snow on top melts from below. That meltwater runs downhill to the cold eave and refreezes into a ridge of ice — the dam. Water then pools behind it and can back up under the shingles. Our guide on how ice dams form covers the full sequence.
The key insight is that the heat comes from inside your house. The same warmth that’s inflating your heating bill is what’s melting the snow and building the dam. So attic work does double duty: it keeps the roof cold and it keeps your heat where you paid to have it.
Warm air doesn’t just conduct through insulation — it flows through gaps, and moving air carries far more heat than a still gap of the same size. Common escape routes include:
Sealing these with appropriate materials is usually the single highest-value step, because it stops the warm, moist air that both heats the deck and dampens your insulation. Air-sealing also has to come before you bury everything under new insulation, since you can’t easily reach the gaps afterward.
Once the leaks are sealed, insulation on the attic floor slows the heat that still rises from the rooms below. Two things matter: enough of it, and evenness. Recommended depths vary by climate zone, so check guidance for your region rather than chasing a single universal number. Just as important, avoid thin or bare patches — a gap over a warm room can heat the deck locally and start a melt even when the rest of the attic is well covered. The eaves are the usual weak spot, because that’s where the roofline pinches down and people stop short.
Ventilation is what carries away any heat and moisture that still make it into the attic. A balanced system pulls cold outside air in through intake vents low at the soffits and pushes it out through exhaust vents high at the ridge. That flow washes the underside of the deck with cold air and keeps it near the outdoor temperature.
The catch is that intake and exhaust have to stay open and roughly balanced. Insulation shoved out to the eaves is the classic failure: it buries the soffit vents and strangles the intake. Baffles — sometimes called rafter vents or chutes — hold an open air channel between the insulation and the deck so the flow survives.
Every attic is different. Cathedral ceilings, finished attics, and complex rooflines with valleys and dormers can't always be vented the conventional way, and some are designed as sealed, unvented assemblies instead. If your roof doesn't fit the standard soffit-to-ridge model, that's a good reason to bring in a pro rather than force a fix that traps moisture.
It’s tempting to pick the one that seems easiest and hope for the best. But these measures depend on each other.
| Measure | What it does | What happens if you skip it |
|---|---|---|
| Air-sealing | Stops warm, moist air from flowing into the attic | Heat and moisture bypass insulation and reach the deck |
| Insulation | Slows conductive heat rising from the living space | Even sealed, the ceiling radiates enough heat to warm the roof |
| Ventilation | Flushes residual heat and moisture out from under the deck | Trapped heat warms the deck; trapped moisture rots it |
Air-seal without ventilating, and you can trap moisture that leads to mold or rot. Insulate over the soffit vents, and you kill the airflow that keeps the deck cold. Ventilate a leaky, under-insulated attic, and you’re trying to blow away a firehose of escaping heat. The system works when all three do.
Do not climb onto an icy or snow-covered roof. It is extremely dangerous, and chipping at ice can damage the roof and cause falls. Serious ice-dam removal is a job for professionals with the right equipment.
Attic work is preventive and happens indoors, ideally in milder weather. It should never turn into a trip onto a frozen roof. If a dam has already formed and is leaking, treat that as a separate removal problem — see how to prevent ice dams for how the two fit together.
If dams keep coming back after your own efforts, if the attic is cramped or hard to reach, or if you simply can’t tell where the heat is escaping, it’s worth calling in help. An energy audit or infrared attic scan can pinpoint the exact leaks and confirm whether your ventilation is balanced, so you spend money where it changes the outcome rather than guessing. A good auditor will also flag whether your roof is a candidate for conventional venting or a sealed assembly. Either way, the target is the same: a cold, even roof deck that never gives a dam the melt it needs.
FAQ
Because the ice is a symptom of a warm roof. Heat escaping into the attic warms the roof deck, melts the snow above, and the meltwater refreezes at the cold eave into a dam. Cool the deck by controlling attic heat and airflow, and the snow stops melting from below, so the dam loses its fuel.
Air-seal first. Warm, moist air leaking through gaps around lights, the attic hatch, and plumbing stacks carries heat straight past insulation to the roof deck. Sealing those leaks is usually the higher-value step, and it also protects new insulation from the moisture that leaking air carries.
It depends on your climate zone, so it's best to check regional guidance rather than a single number. The practical goal is a consistent, generous layer with no thin spots, especially near the eaves. Even coverage matters as much as total depth, because a few bare patches can warm the deck enough to start melting.
It's a balanced airflow path: cold outside air enters through intake vents low at the soffits and exits through exhaust vents high at the ridge. That flow washes the underside of the roof deck with cold air and carries away heat and moisture. It only works if both the intake and exhaust stay open and roughly balanced.
Yes, and it's a common mistake. Insulation pushed out to the eaves can bury the soffit vents and choke off the intake airflow. Baffles (also called rafter vents or chutes) hold an open channel between the insulation and the roof deck so air can still flow from soffit to ridge.
The two solve different problems. Air-sealing stops bulk air movement, which carries most of the heat and moisture. Vapor control slows diffusion through materials. Requirements vary by climate and construction, so this is a good question for an energy auditor or contractor familiar with your region.
If dams keep returning after DIY attempts, if your attic is hard to access, or if you can't tell where the heat is escaping, an energy audit or infrared scan is worth it. A pro can also confirm your ventilation is balanced and that spray-foam or dense-pack work is done safely and to code.
Keep reading
Attic insulation helps stop ice dams by keeping the roof deck cold — but only after air-sealing. The right order of air-seal, insulate, ventilate, explained.
Prevent ice dams by keeping the roof deck cold — air-seal, insulate, and ventilate the attic. Snow management and clear gutters help, but the real fix is the attic.
How ice dams really form — attic heat loss melts snow that refreezes at the cold eave. Why gutters aren't the cause, and what to do safely.