How Long Do Sump Pumps Last?
How long sump pumps typically last, what shortens their life, the warning signs of a failing pump, and why age and testing matter.
Sump Pumps & Interior Drainage
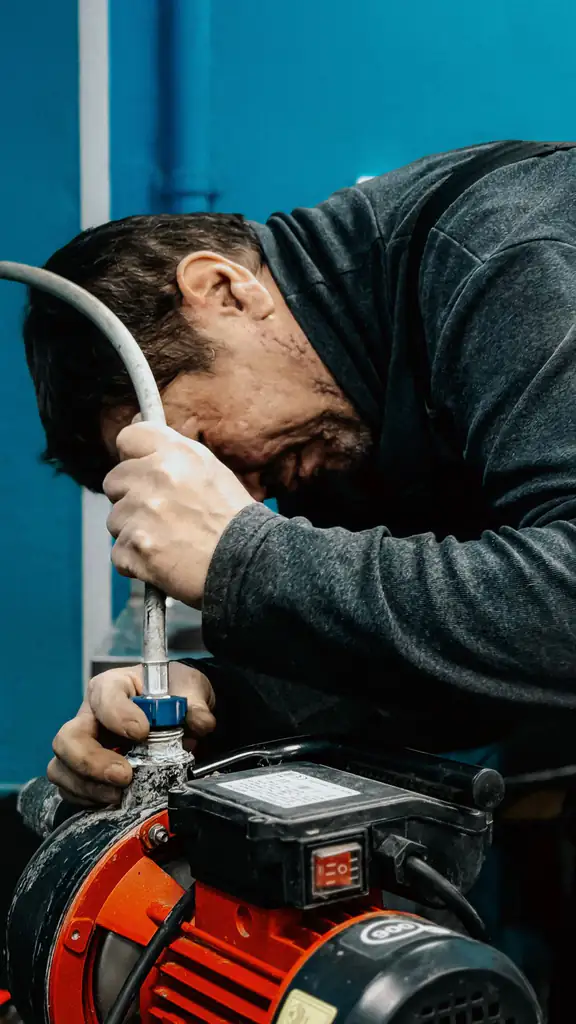
Replacing a sump pump is a manageable job for many homeowners: cut the power, disconnect the discharge and check valve, lift the old pump out, set a matched replacement in the pit, reconnect the discharge, and test it. The details that matter most are getting a like-for-like pump, sizing the check valve and discharge correctly, and confirming the float has room to move.
Replacing a sump pump is a manageable job for many homeowners. The sequence is straightforward: cut the power, disconnect the discharge pipe and check valve, lift the old pump out, set a matched replacement in the pit, reconnect the discharge, and test it thoroughly. The steps that make or break the result aren’t the muscle of lifting the pump — they’re choosing a like-for-like replacement, sizing the check valve and discharge correctly, cleaning the pit while it’s open, and confirming the float has room to move before you rely on the pump in a storm.
Not every failing pump needs replacing. Reach for a new pump when:
If the pump is newer and the fault is a stuck float or a clogged intake, a repair is usually the better move — start with sump pump not working troubleshooting before deciding. Replacement is for a pump that’s genuinely worn out, not one with a fixable hiccup.
The safest default is like-for-like: the same type (submersible or pedestal), similar capacity, and a discharge outlet that matches your existing pipe. Matching the pump you’re removing sidesteps surprises with pit fit and plumbing.
Replacement is also a chance to correct a mistake. If the old pump was clearly undersized — struggling to keep up with the water your pit sees — or oversized and short-cycling, you can right-size the new one. But base that on your real conditions, not a guess; what size sump pump do I need covers how to judge it. If you’re unsure whether to change type entirely, how to choose a sump pump lays out the trade-offs.
Before you do anything else, cut the power to the pump — unplug it, or switch off the circuit if it's hardwired. You'll be working around water and an electric motor, and a pump that cycles on mid-job is a shock hazard. If the pump is hardwired and you're not confident with the wiring, this is a sensible point to bring in a professional.
Unplug the pump, or turn off its circuit at the panel if it’s hardwired. Confirm it’s dead before reaching into the pit.
The discharge pipe runs up out of the pit, usually with a check valve in the line. Disconnect the pipe at the union or coupling and remove the check valve. Expect some water still sitting in the pipe above the valve to drain back — have a bucket or towels ready.
Free the pump from the pit and lift it out. It’ll be wet and may be heavier than it looks. Set it aside on something you don’t mind getting dirty.
With the pit open, remove the silt, gravel, and debris collected in the bottom. This is the ideal moment — a clean pit lets the new pump and its float work properly and keeps that gunk from fouling the switch or intake. Skipping it means dropping a new pump into the same debris that may have shortened the old one’s life.
Lower the replacement into the pit, sitting it level and centered with clearance around the float so it can rise and fall freely. A crooked pump or a float rubbing the wall is a leading cause of a “new” pump that won’t cycle.
Reattach the discharge pipe and install the check valve in the correct orientation — the arrow on the valve points in the direction of flow, up and away from the pit. Since everything’s apart, fitting a fresh check valve is cheap insurance against back-draining; see sump pump check valves explained for why it matters.
This is the step you don’t skip. Restore power, pour water into the pit until the float rises, and confirm the pump switches on, empties the pit, and shuts off cleanly. Watch that water doesn’t drain back through the check valve. Run the cycle a few times.
| Step | What to confirm |
|---|---|
| Power | Pump unplugged or circuit off before you start |
| Replacement | Matched type, capacity, and discharge size |
| Old pump out | Discharge and check valve disconnected first |
| Pit | Cleaned of silt and debris while open |
| New pump set | Level, centered, float clear to move |
| Check valve | Fresh, correct flow direction |
| Test | On, empties, off — repeated a few times |
A new pump is a good moment to reset your maintenance habits. Note the install date, put the pump on a regular testing schedule, and — if you don’t already have one — consider whether a power outage during a storm would leave you exposed. A backup is a common companion to a fresh pump; see sump pump backup options. For the ongoing routine, sump pump maintenance and testing covers what to check and how often.
Match the pump, kill the power, clean the pit, give the float room, and test before you trust it — do those and a sump pump swap is one of the more satisfying maintenance jobs a homeowner can knock out.
FAQ
Replace it when the pump is near or past its typical service life, when it's failed more than once, or when a repair would cost a meaningful share of a new pump. A pump that runs but struggles, cycles erratically after the float and pit are ruled out, or has visibly corroded is a candidate for replacement. If it's newer and the fault is a stuck float or clogged intake, a fix is usually the better call.
Many homeowners can. The core steps — cutting power, disconnecting the discharge and check valve, lifting the old pump out, setting a matched new one, reconnecting, and testing — are within reach with basic tools. The cautions are electrical safety and getting the replacement sized right. If your pump is hardwired, if you're unsure about the wiring, or if the discharge plumbing is complex, bringing in a professional is reasonable.
Start by matching the pump you're removing — same type (submersible or pedestal), similar capacity, and a discharge size that fits your existing pipe. Replacing like-for-like avoids surprises with pit fit and plumbing. If the old pump was undersized or oversized for the water your pit actually sees, replacement is a chance to correct that, but base the change on your real conditions, not a guess.
It's good practice. The check valve keeps water in the discharge pipe from draining back into the pit when the pump shuts off, and since you're already disconnecting it, replacing an old or questionable valve while everything is apart is cheap insurance. A failed check valve makes the pump cycle more than it should, so starting fresh with the new pump is sensible.
Test it before you consider the job done. Restore power, pour water into the pit until the float rises, and confirm the pump switches on, empties the pit, and shuts off cleanly — then watch for water draining back through the check valve. Do this a few times. Finding a problem during a controlled test is far better than discovering it during the first storm.
For a straightforward like-for-like swap with accessible plumbing, it's usually a modest job of an hour or two once you have the replacement in hand. It stretches longer if the discharge has to be reworked, the pit needs cleaning, or the wiring is complicated. Rushing the reconnection and skipping the test is where most trouble comes from, so don't treat speed as the goal.
Yes — it's the ideal moment. With the old pump removed, you have clear access to remove silt, gravel, and debris that have collected in the bottom of the pit. A clean pit helps the new pump and its float work properly and prevents the debris from fouling the switch or intake. Skipping this step means dropping a new pump into the same gunk that may have shortened the old one's life.
Keep reading
How long sump pumps typically last, what shortens their life, the warning signs of a failing pump, and why age and testing matter.
What a sump pump check valve does, why the pump short-cycles without one, and the signs of a failed valve — a plain guide for homeowners.
A simple sump pump maintenance and testing routine — pour-test the pit, clean it out, check the float and check valve, confirm the discharge, and test the backup.