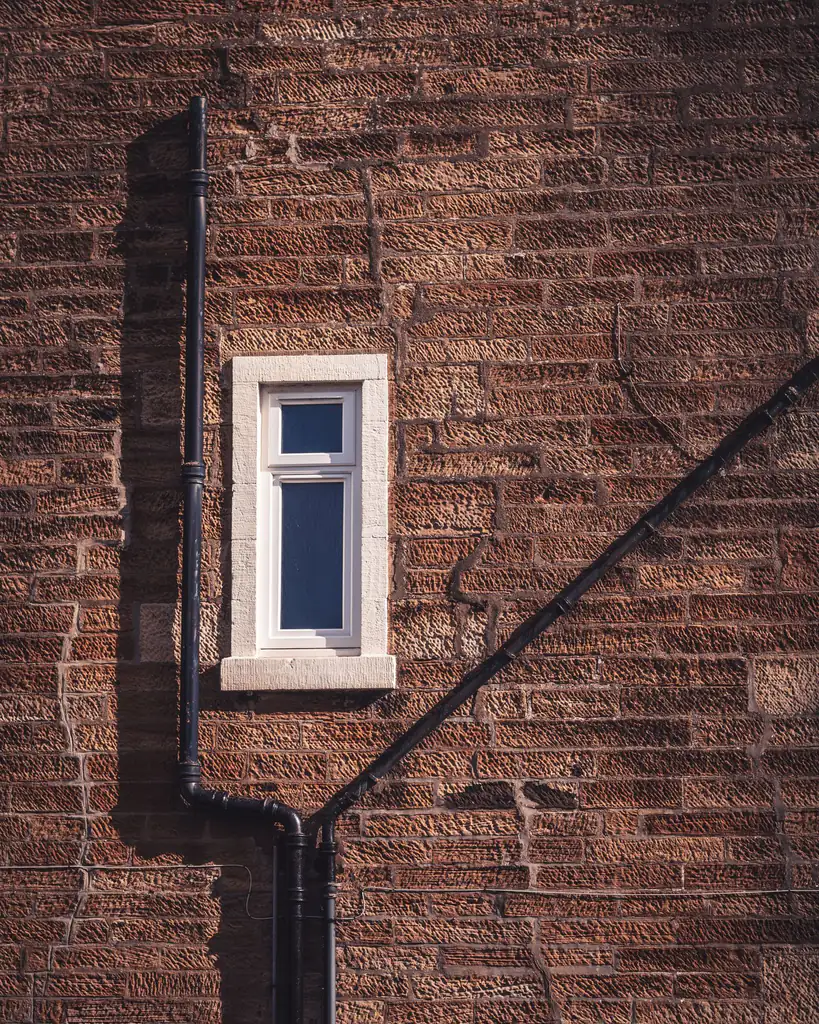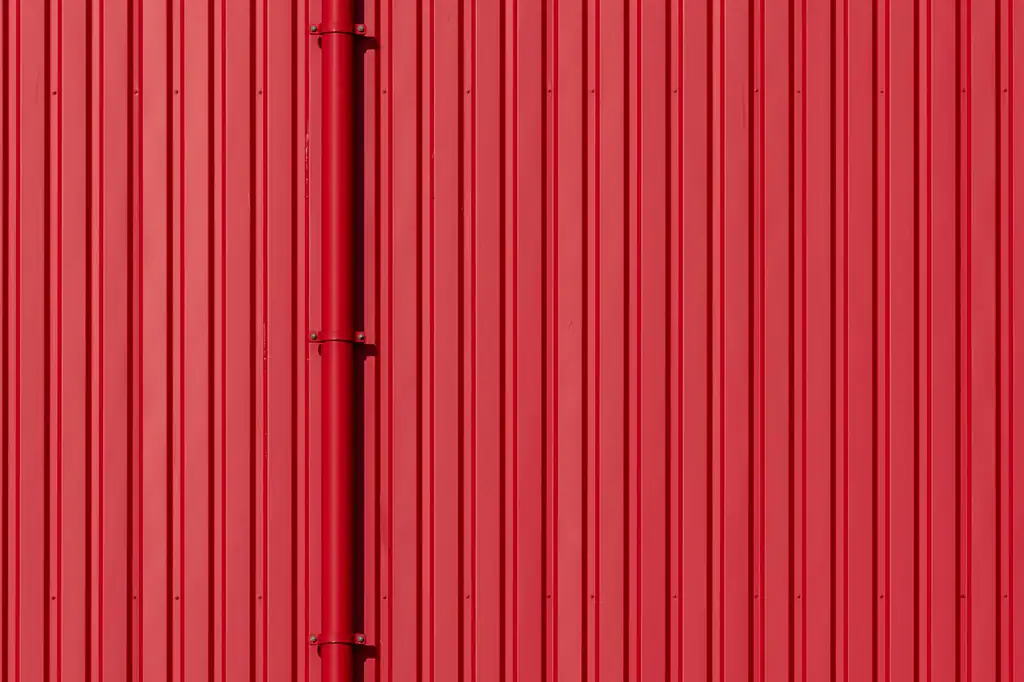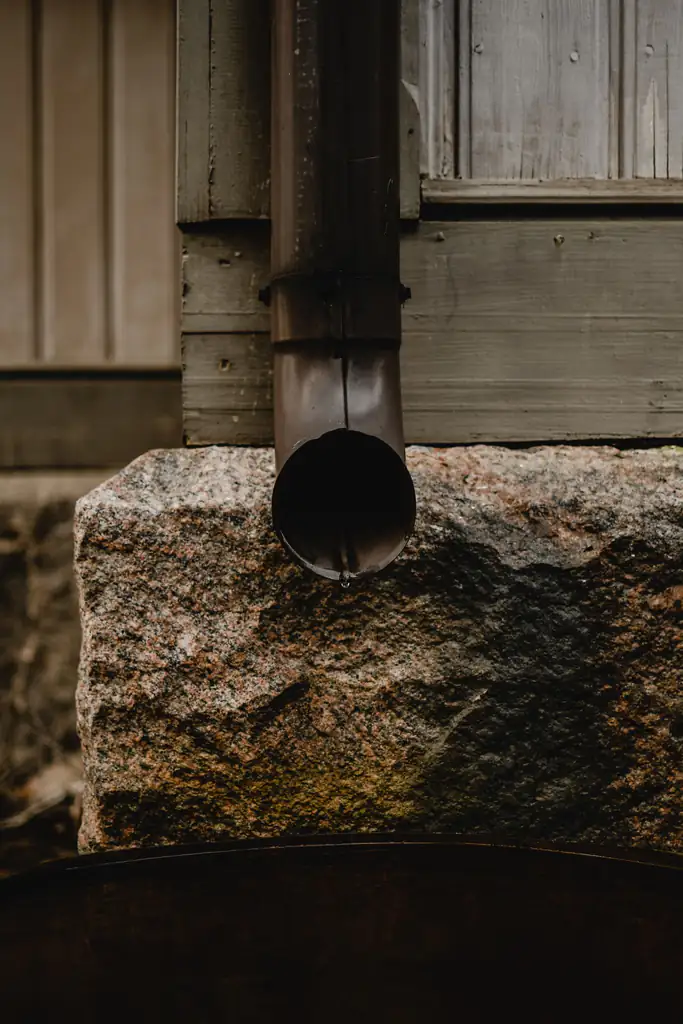
Downspout Brackets and Straps
What downspout brackets and straps do, how far apart to space them, and how to fasten into different wall types so the pipe stays tight and quiet.
Downspouts
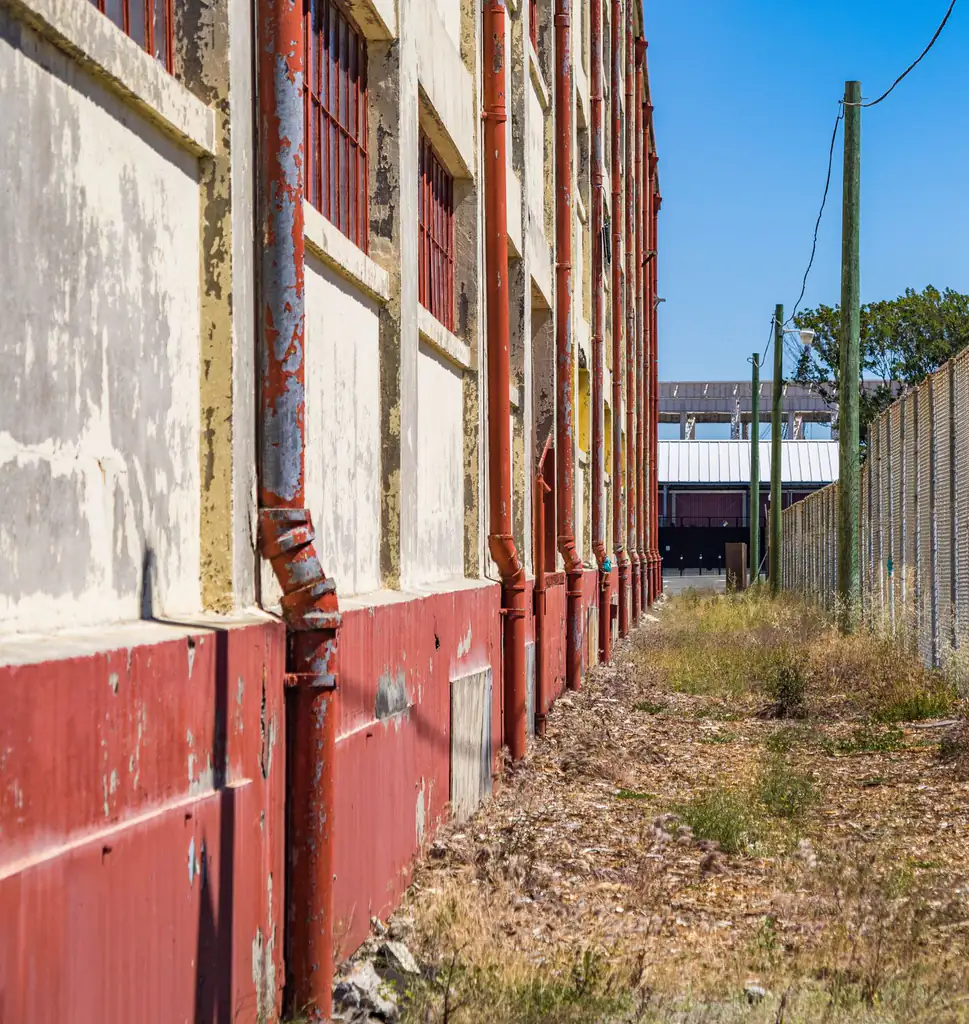
Elbows turn a downspout around eaves and foundations; an offset (two elbows plus a short piece) brings the pipe back to the wall under an overhang. The more turns, the more places debris snags — so keep the path as simple as the roofline allows.
If your downspout has to get around a roof overhang, dodge a window, or hug the wall, it does that with elbows — the short bent fittings that let the pipe change direction. An offset is just a pair of those elbows working together to step the pipe back toward the house. They are simple parts, but the way you arrange them decides how well the whole downspout drains, because every bend is also a place debris can pile up.
A downspout elbow is a single fitting bent at an angle, usually around 45 or 75 degrees, that redirects the pipe. You will almost always find one right at the top, where water leaves the gutter outlet and needs to turn down against the wall, and one or more near the bottom, where the pipe turns out to meet a splash block or an extension.
On its own an elbow is unremarkable. The reason it matters is that a gutter usually hangs slightly out past the wall, so the water coming down does not naturally line up over the siding. The top elbow — and often a second one forming an offset — is what pulls the flow back in so the downspout can run flat against the house instead of dangling in mid-air.
Downspout elbows come in two orientations, commonly labeled A and B. The difference is which face of the rectangular pipe the bend crosses.
Neither is “better.” They solve different geometry. Most installations use a mix: a B-style at the top to bring the pipe in over the siding, and A- or B-styles lower down depending on which way the water has to head. If you are buying replacements, the important thing is to match the style to the direction of travel, not to grab whichever is on the shelf.
Elbow labeling is not perfectly standardized across every manufacturer. When in doubt, hold the fitting up to the run and check which way it actually bends rather than trusting the letter on the bin.
An offset is the small S-shaped jog you see near the top of most downspouts. It is built from two elbows facing opposite directions with a short length of pipe — sometimes just a few inches — between them. The first elbow leaves the gutter and heads back toward the wall; the second elbow turns the pipe vertical again once it has reached the siding.
The point of the offset is to close the gap between the gutter’s outlet and the wall. A wide overhang means a longer piece between the two elbows; a gutter that sits close to the fascia might need almost nothing. Get the length wrong and the pipe either bows out from the wall or crowds against it awkwardly.
When you stack elbows and pipe, the upper section should nest inside the lower one. That way water traveling down stays captured inside the pipe at every seam. If a joint is assembled the other way around, water sheds down the outside of the pipe at that seam, streaking the wall and sometimes escaping behind the downspout entirely. This is one of the most common and most avoidable installation errors.
Here is the trade-off that drives every decision about elbows. Water moving down a straight pipe pulls grit and small debris along with it. At a bend, the flow slows and changes direction, and whatever it was carrying gets a chance to settle. String several tight turns together and you have created a natural trap.
This is why a downspout that clogs repeatedly often clogs at an elbow — usually the top offset, where leaves washing off the roof hit their first bend. If your downspout keeps backing up, the turns are the first place to look; our guide to why a downspout is not draining walks through how to trace it.
The practical rule: use as few elbows as the roofline allows, and avoid stacking turns back-to-back when a gentler path would do. A downspout with two clean bends will almost always drain better and clog less than one that zigzags around trim with five.
The table below is a rough guide to where each fitting shows up and what to watch for. Actual needs vary with your roof and wall.
| Fitting | Typical location | What it does | Clog risk |
|---|---|---|---|
| Top elbow | Under gutter outlet | Turns water down toward wall | Higher — first debris point |
| Offset (2 elbows + pipe) | Under overhang | Steps pipe back to siding | Higher — two turns close together |
| Bottom elbow | Near ground | Turns water out to extension | Moderate |
| Straight pipe | Between fittings | Carries water down the wall | Low |
Sometimes you genuinely need extra elbows to route a downspout cleanly. It helps to be clear-eyed about the cost.
Elbows and offsets are the small fittings that make a downspout fit your house — turning it under the eaves, stepping it back over the siding, and aiming it out at the bottom. They are cheap and easy to work with, but each one you add is another place leaves and grit can settle. The best downspout path is the simplest one your roofline allows: enough turns to route the pipe cleanly against the wall, and no more than that. When you do need a bend, match the elbow style to the direction, nest the joints so water stays inside, and fasten the connections so nothing works loose. Keep it simple and the water keeps moving.
FAQ
The labels refer to which way the elbow bends relative to the flat face of the downspout. An A-style (sometimes called a front elbow) turns to the side, across the wider face, while a B-style turns front-to-back, along the narrow dimension. Which one you need depends entirely on the direction the pipe has to travel at that point, so most jobs end up using both.
An offset is a short jog made from two elbows and a small length of pipe between them. It is what carries the downspout back toward the wall after it clears a roof overhang or a gutter that sits out past the fascia. The two elbows face opposite ways so the pipe steps in without changing its overall downward direction.
Water flowing through a straight pipe carries debris along with it, but at every bend the flow slows and changes direction, giving leaves and grit a place to settle. The tighter the turn and the more turns in a row, the more likely material is to catch and build up until it blocks the pipe.
There is no fixed limit, but every added elbow is another spot that can snag debris and slow drainage. A typical run uses one elbow at the top under the gutter outlet and one or two near the bottom. If a design seems to need a long chain of turns, it is usually worth rethinking the path.
Elbows are usually friction-fit and slip together, but that connection can work loose under water pressure, wind or frost heave. Many homeowners secure the joints with fasteners or bands so the assembly stays aligned and does not pull apart, which also keeps the seams from leaking down the wall.
As a general rule the upper piece fits inside the lower one so water stays inside the pipe instead of running down the outside at each seam. Reversing the overlap is a common installation mistake that leaves streaks on the wall and can let water escape behind the pipe.
Sometimes. If a downspout wanders around trim or takes an indirect path, relocating the outlet or straightening the run can cut out an elbow or two. Fewer turns generally means fewer clog points, though the change has to still clear the roofline and land where you want the water to go.
Keep reading
What downspout brackets and straps do, how far apart to space them, and how to fasten into different wall types so the pipe stays tight and quiet.
A step-by-step look at installing a downspout — cutting the outlet, running the pipe with elbows, strapping it to the wall, and getting the discharge far enough from the house to matter.
Why downspouts drum, drip, and rattle in the rain, and the simple fixes that quiet them without replacing the whole run.