Downspout Brackets and Straps
What downspout brackets and straps do, how far apart to space them, and how to fasten into different wall types so the pipe stays tight and quiet.
Downspouts
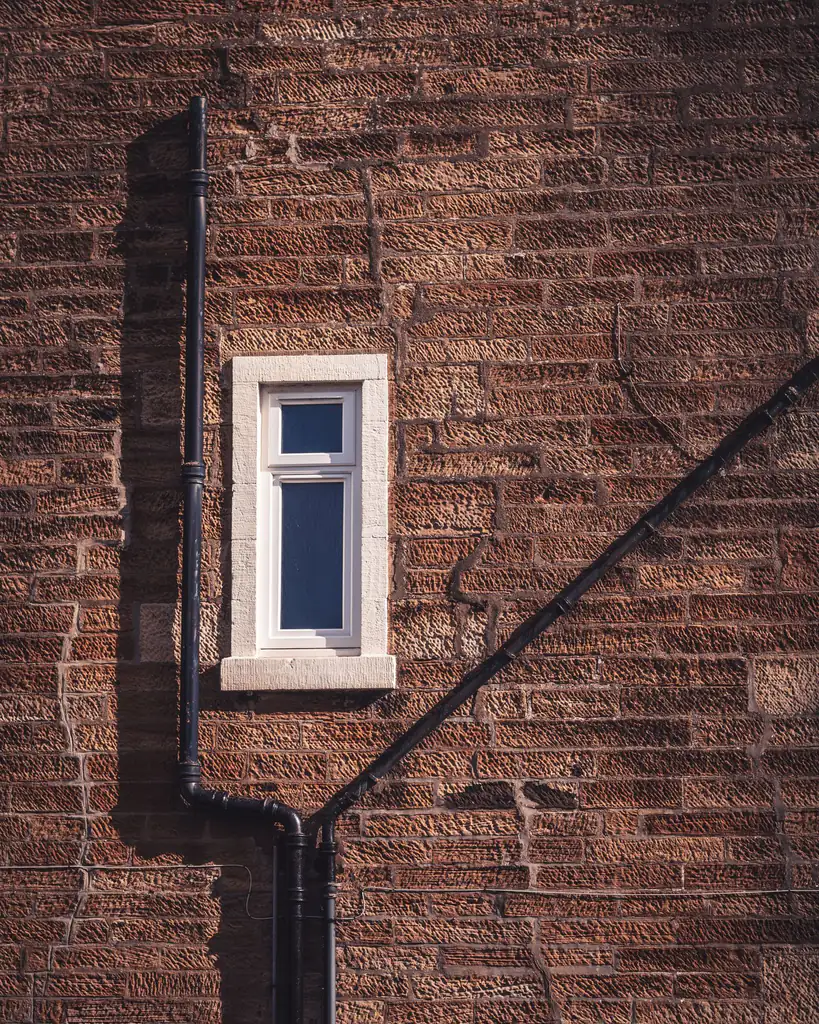
Installing a downspout means fitting an outlet in the gutter, running the pipe down the wall with elbows and offsets, securing it with straps, and, most important, carrying the water well away from the foundation at the bottom. The discharge is the part people get wrong.
Installing a downspout is a job most homeowners can handle in an afternoon, and the parts are simple: an outlet that drops water out of the gutter, a run of pipe down the wall, a few elbows to steer it, straps to hold it, and something at the bottom to carry the water away. The order of work is straightforward. What trips people up is not the pipe — it is the last step. A downspout that ends at the base of the wall just delivers the whole roof’s water to the worst possible spot. The discharge is the part people get wrong, so that is where most of your attention should go.
Before you cut anything, walk the run in your head from top to bottom. Water leaves the gutter through an outlet (also called a drop outlet), turns back toward the wall through a top elbow or a two-elbow offset, drops down the wall as straight pipe, is held in place by straps or brackets, and turns out at the bottom through another elbow into an extension. That is the whole system.
Pick the spot with care, because placement decides how well everything downstream works. A downspout wants to sit at a low point of the gutter run, at a corner where it is unobtrusive, and somewhere the water can actually be led away at the bottom. Our guide to where to place downspouts covers the trade-offs; the short version is that the best-built downspout in the wrong location still leaves you with a drainage problem.
Here is the sequence most installations follow. Times and specifics vary with your house, so treat this as the shape of the job rather than a rigid script.
| Step | What you do | Why it matters |
|---|---|---|
| 1. Mark and cut the outlet | Locate the outlet at a low point in the gutter, trace it, and cut the hole | Sets where water leaves the gutter; a bad spot dooms the rest |
| 2. Fit the top elbow / offset | Attach the outlet, then the elbow or offset back to the wall | Pulls the pipe in over the siding instead of dangling out |
| 3. Measure and cut the drop | Measure wall to ground, cut the straight pipe to length | Too long crowds the ground; too short leaves a gap |
| 4. Assemble the run | Nest each section inside the one below, add the bottom elbow | Keeps water inside the pipe at every seam |
| 5. Strap to the wall | Fasten straps top, bottom, and every few feet | Stops sag, rattle, and pull-away over time |
| 6. Handle the discharge | Add an extension carrying water well away | The step that actually protects the foundation |
Start at the top. The outlet drops into a hole cut in the bottom of the gutter, so mark it at a low point of the run and cut cleanly. From the outlet, the pipe has to travel back toward the siding, because gutters hang slightly out past the wall. That is the job of the top elbow, or a pair of elbows forming an offset with a short piece between them. Getting this jog right is what lets the downspout sit flat against the house rather than dangling in mid-air. The full mechanics of these fittings — A-style versus B-style, and which way each bend should face — are covered in downspout elbows and offsets explained.
Measure from the bottom of the top elbow down to where the lower elbow will start, and cut your straight pipe to that length with snips or a hacksaw. As you assemble, remember the golden rule of seams: the upper section fits inside the lower one. That way water stays captured inside the pipe. Reverse it and water sheds down the outside at every joint, streaking the wall and sometimes escaping behind the pipe entirely — a small mistake with visible, lasting consequences.
A downspout that is not secured will rattle in wind, sag under the weight of water, and eventually pull away from the wall at the fittings. Straps or brackets fix that. A common approach is one near the top, one near the bottom, and one every few feet in between, with extra support on long runs or in windy, freeze-prone regions. You want the pipe to feel solid when you give it a firm push.
Setting the outlet and top elbow means working at height over the gutter, sometimes from a tall or extension ladder. Set the ladder on firm, level ground, keep three points of contact, and never lean out past the rails to reach the outlet — reposition the ladder instead. If the run is on a second story or over uneven ground, have a helper foot the ladder and steady the work. The fittings are forgiving; a fall is not.
This is the step that justifies all the rest. Left as-is, the bottom elbow drops water right at the base of the wall, into the backfilled soil that sits closest to the foundation — the very soil most prone to holding water and slumping back toward the house. Add an extension that carries the flow out onto ground that slopes away.
How far is far enough? A widely cited starting point is at least four to six feet, but soil, grade, and roof size can all push that number higher. Rather than trust the tape measure, watch what happens in a real storm: if water disperses and moves off, the distance is working; if it pools or trickles back, it is not. Our guide on how far downspouts should extend walks through the options and what changes the answer.
A downspout install is really two jobs stacked together: the pipe work, which is easy and forgiving, and the discharge, which is where the whole effort either pays off or fails. Cut a clean outlet, nest your seams the right way, strap the run solid, and work safely at the top. Then spend your remaining attention on the bottom, carrying that water far enough out that it leaves the foundation alone. Get the discharge right and everything above it is just plumbing.
FAQ
Adding or replacing a downspout on an existing gutter is usually treated as routine maintenance and rarely needs a permit. Where the rules tend to tighten is at the discharge end — connecting to a public storm system, or draining across a property line, can be regulated. Check with your local authority before you route water off your own lot.
A common guideline is a strap or bracket near the top, one near the bottom, and one every few feet in between, with more on long runs or in windy, freeze-prone areas. The goal is that the pipe cannot rattle, sag, or pull away from the wall. Spacing depends on the material and length, so treat it as a range rather than a fixed number.
The basic kit is tin snips or a hacksaw to cut the pipe, a drill and driver for the straps, a tape measure, and a way to reach the gutter safely. You will also need the outlet, elbows, straps, and connectors sized to your gutter and downspout. Nothing here is specialized, but working at height is the part to plan for.
The pipe work itself is well within reach of a confident DIYer, and much of it happens near the ground. The awkward part is at the top, where you are working at height over the gutter. If that means a tall ladder or a second story, a helper and careful setup matter more than any of the fittings.
The upper section should fit inside the lower one so water stays captured inside the pipe at each seam. Reversing the overlap lets water run down the outside of the pipe, streaking the wall and sometimes escaping behind the downspout. It is one of the most common and most avoidable installation mistakes.
A widely repeated starting point is at least four to six feet, onto ground that slopes away, but treat that as a guideline rather than a rule. Heavy clay soil, flat lots, and large roof areas often need water carried farther. The real test is whether water disperses and moves away rather than pooling or running back toward the wall.
Most installers set the outlet and top elbow first, then work down the wall, cutting the vertical pipe to length and adding the lower elbow last. Building top-down lets each joint nest inside the one below it, which keeps water inside the pipe and makes the final cut to the ground easier to measure.
Keep reading
What downspout brackets and straps do, how far apart to space them, and how to fasten into different wall types so the pipe stays tight and quiet.
Why a downspout pulls away from the house and how to fix it — loose straps, working joints, and the fastening and spacing that keep the run tight to the wall.
Find where a downspout is really leaking and fix it — reversed joints, loose seams, a leaking outlet, or a cracked section — with the causes and fixes for each.